Designing for Assembly in Fusion 360 (Advanced CAD Tutorial)

Description
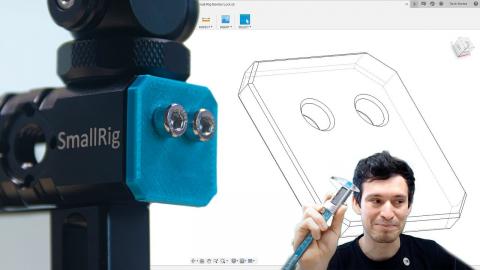
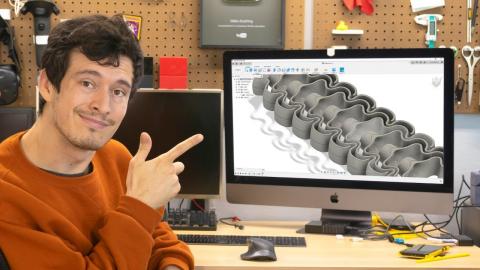
How can you slice up parts for assembly after 3D Printing in Fusion 360? Well, turns out there's many approaches! In this video I'll walk you through how I design parts to join together after 3D Printing without requiring any additional glue or fasteners.
This video is aimed at those already comfortable with 3D Modelling basics in Fusion 360.
New to 3D Modelling? Check out my CAD for Newbies Series here! - https://www.youtube.com/playlist?list=PLTCCNNvHC8PC40tcEqaJcgUMb97LNkLIn
TIMESTAMPS:
0:25 Why slice up models up for assembly later?
2:06 Plane Cut / Surface Cut
3:38 Adding Indexing Features to a Plane Cut
4:51 Dovetails
6:15 Snaps
8:09 Screw Threads
14:04 Sweep with Twist Angle
16:39 Twist Lock
20:40 Adding Clearances
Support Maker's Muse on Patreon
https://www.patreon.com/makersmuse?ty=h
50 3D Printing Tips and Tricks - https://gumroad.com/l/QWAh
3D Printing Essentials - https://www.amazon.com/shop/makersmuse