How to Make a 3d Printed Soap Dispenser

Description
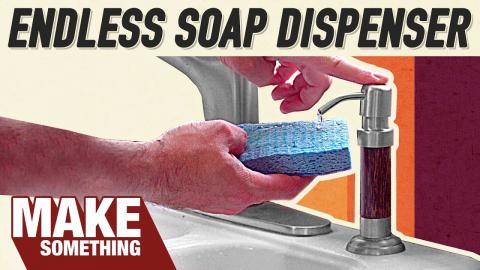
Josh wanted to make a unique automatic soap dispenser for the workshop bathroom, so he used 3d modeling and 3d printing to make a life-sized Bob soap dispenser.
Subscribe to my channel: http://bit.ly/1k8msFr
Second Channel: http://bit.ly/iltms-2
MORE PROJECTS, POSTS AND EVENTS
http://www.iliketomakestuff.com
TOOLS & SUPPLIES WE USED (affiliate links):
https://kit.com/iliketomakestuff/3d-printed-automatic-soap-dispenser
https://kit.com/iliketomakestuff/shop-safety-gear
I WROTE A BOOK!!
http://www.iliketomakestuff.com/makingtime
Want to support ILTMS? Get exclusive content and more...
http://www.iliketomakestuff.com/patreon
BUY A SHIRT, STICKER, NOTEBOOK, DIGITAL PLANS and MORE!!
http://www.iliketomakestuff.com/store
FOLLOW:
http://twitter.com/iliketomakestuf
http://www.twitch.tv/iliketomakestuff
http://instagram.com/iliketomakestuff
http://facebook.com/iltms
MUSIC: http://share.epidemicsound.com/iltms
There are a lot of ways to get a digital 3D model of an object. The easiest way is to search through free online libraries like www.thingiverse.com and www.myminifactory.com and download the model of your choice. Some of these files cost money, and many of them limit what you can do to the original art, like manipulation or selling them for profit.
Another method of creating a 3d model is to make one using 3d design software like Fusion 360, TinkerCAD, or Cinema4D. You've seen us use Fusion 360 for all kinds of applications from woodworking to digital plans, this time, we're going to manipulate an existing 3D model. The model we're using is of my head. While we were out at Matterhackers making the Perfection game, our buddy Alec used a device called a 3D scanner to digitally map my body. So this life-size digital scan is what we are using as the base for this project.
Alec sent Josh the digital bust that was cleaned up and smoothed over. This digital curvature is actually tons of tiny triangle called facets; the smoother the model, the higher the facet count. One draw back of Fusion 360 is that you can't edit a model with a facet count above 10,000 (our model was nearly 94,000). So to be able to split the model apart and reduce the facet count, Josh used a program called Meshmixer. You can split up models, add rough shapes, create low-poly versions of your shape, and even add silly things like horns.
This entire project could be done in Meshmixer, but it isn't very easy or efficient to do the kind of manipulation Josh needed only using that platform. And because he is more comfortable using Fusion 360, he used Meshmixer to split Bob's head in half and to reduce the fidelity to under 10,000 facets.
While Josh was working on the 3D model, I began disassembly on the inexpensive, automatic soap dispenser we got on Amazon. The mechanism is pretty simple, there is an infrared LED that shines toward an infrared receiver. When your hand crosses between these two, blocking the light from the receiver, it triggers the motor to cycle, drawing soap out of a reservoir and onto your hands.
The dispenser came apart pretty easily, but I made sure not to damage any lights or sensors in the process. Josh rearranged the reservoir and some of the electrical boards to make a more vertically stacked setup. We had to de-solder the receiver and extend the wire so that it could be placed on the new head in the right place.
Now that the model of Bob's head was in two pieces and below the workable threshold in Fusion 360, I could change it from a "mesh" to a manipulatable 3d object. I began by cutting cylindrical holes in his head from the neck up, this is where the vertical structure of the dispenser would sit. Because we are immature children, Josh wanted the soap to be dispensed out of my nose. To make room for the delivery tubing, he drew a path using the "Spline" tool from the reservoir to the nostrils. Then he used the "Pipe" tool to make a circular cutout that followed that splined path. He also had to do the same thing for the two infrared components, one under my chin and the other at the base of my neck.
The thought was that you place your hands under my beard and my head would shoot soap out of my nose into your palm...I know, weirdest sentence ever. Josh also added a hole in the top of the model to add more soap when it got low, as well as a "hair plug" that would fit into that space and look like the top of my head. He also flattened the back of the head and modeled in some simple triangular keyhole hangars so we mount it to the wall.
Now that the components were ready and tested, and the model was ready to go, we began the long printing process. We have the two halves of the head we split up in Meshmixer and edited in Fusion 360 that need to be printed on a taller 3d printer. The model is still life-sized, so we used the Ultimaker 2+ Extended printer to print the head one half at a time. Each side took 30 hours to print, but the quality was amazing!