How to Make a Modular Outdoor Table

Description
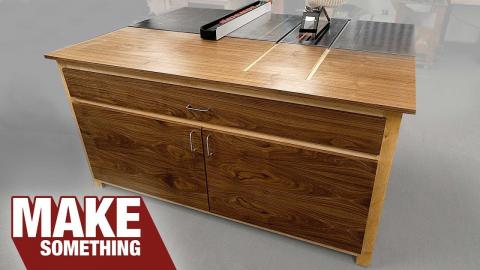
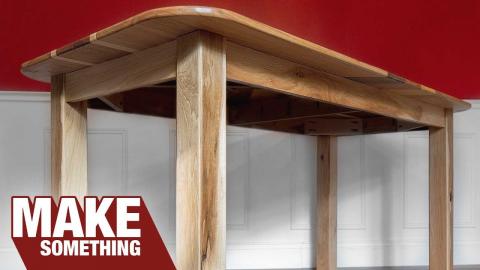
I made a modular hexagonal table for our gazebo!
Get your first audiobook for free when you try Audible for 30 days visit https://www.audible.com/makestuff or text makestuff to 500 500!
Subscribe to my channel: http://bit.ly/1k8msFr
Second Channel: http://bit.ly/iltms-2
MORE PROJECTS, POSTS AND EVENTS
http://www.iliketomakestuff.com
TOOLS & SUPPLIES (affiliate links):
https://kit.com/iliketomakestuff/my-metalworking-tools
https://kit.com/iliketomakestuff/my-woodworking-tools
https://kit.com/iliketomakestuff/shop-safety-gear
Twitch Stream Every Wednesday @ 3pm EST: www.twitch.tv/iliketomakestuff
I WROTE A BOOK!!
http://www.iliketomakestuff.com/makingtime
Want to support ILTMS? Get exclusive content and more...
http://www.iliketomakestuff.com/patreon
BUY A SHIRT, STICKER, NOTEBOOK, DIGITAL PLANS and MORE!!
http://www.iliketomakestuff.com/store
FOLLOW:
http://twitter.com/iliketomakestuf
http://www.twitch.tv/iliketomakestuff
http://instagram.com/iliketomakestuff
http://facebook.com/iltms
MUSIC: http://share.epidemicsound.com/iltms
This project began with a call to my local steel yard. I was pretty intimidated when I called because I don't really understand the terminology and didn't want to sound dumb to a bunch of steel workers. To my surprise, the guys were super helpful and patient when taking my order, and even offered to deliver the steel to my house!
I used my new floor-standing band saw to cut the 1 1/2 steel tubing to length. This was a pretty slow and repetitive process, but this new saw worked perfectly. After I had all 8 legs cut, I had to measure the angles for the top to make up the hexagon shape. A hexagon is made of 6, 60 degree sides, so I cut each piece to 30 degrees so when the met, it would equal 60.
Using the angled iron that I cut earlier, I tack welded the joints to make up the 60 degree angles. To attach the long sides, I had to notch out the bottom edges of the two adjoining pieces. The outer faces then matched up and were welded together. Since this table is made up of two separate halves, I just had to repeat the cuts and welds on the second piece. After I got all the joints welded, I went back with a grinding disc and a sanding disc to smooth out those welds to make some seamless transitions. This was especially important on the undersides where the square legs would be welded.
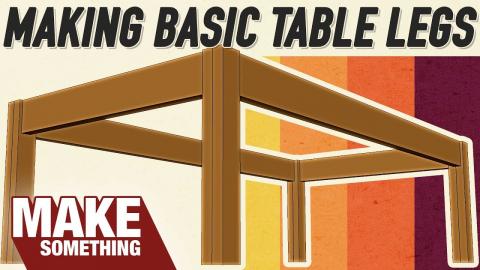
I took the 1 1/2" square legs we cut earlier and welded them to the 4 corners of each table half. I aligned the sides with the faces that you would typically see when sitting down. After tacking them in place, I laid down some final welds. Just like the top frames, I ground and sanded the joints smooth in preparation for paint.
I chose to paint the tables bases with some black enamel spray paint. Powder coating would be more durable in the long run, but I don't have an oven big enough to bake the entire table. Each metal base got two coats of enamel, and they really looked great.
Because I am painting the frame, even with more durable enamel, the frame can be scratched and the metal can show through. We have to watch out for any abrasions so that the exposed steel frame doesn't start to rust.
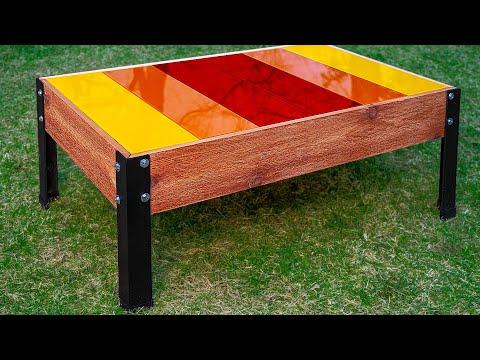
To match the style of my Outdoor Chair, I went with cedar planks for the wooden table top. I planed all of these boards to the same thickness and set them in place on the table half. With the cedar hanging over the edges, I could mark a line on the underside of the boards to get a rough cut line. I used the miter saw to cut each piece to a rough length and then placed all of the cedar boards back inside the table top. Using some nails as spacers, I attached the planks to a wooden support beam using brad nails.
Because I wanted an 1/8" reveal between the table top and the base, I used the circular saw to make one final cleanup cut on the angled sides. This cut gave me the 1/8' gap on the outsides and a consistent spacing all the way around. The table tops were secured to the base with some stainless steel screws to prevent corrosion.
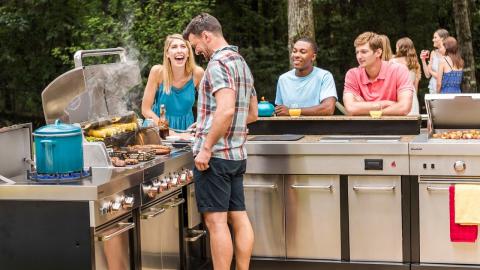
This spilt design really is quite versatile. We can use it as one big table with enough room for my whole family as we sit in the gazebo, or I can push them up against the railings individually to act as buffet counters, or we can bring them out into the yard to make a long banquet table. I really love the sleek and simple look and the versatility.