How to Make a Sandpaper Organizer

Description
We decided to take all of my loose sandpaper and put it into one place. This week we're making a Sandpaper Organizer for the shop!
GET PLANS FOR THIS PROJECT!: https://iliketomakestuff.com/product/sandpaper-organizer-digital-plans/
Subscribe to my channel: http://bit.ly/1k8msFr
Second Channel: http://bit.ly/iltms-2
MORE PROJECTS, POSTS AND EVENTS
http://www.iliketomakestuff.com
TOOLS & SUPPLIES (affiliate links):
https://kit.com/iliketomakestuff/my-woodworking-tools
https://kit.com/iliketomakestuff/shop-safety-gear
I WROTE A BOOK!!
http://www.iliketomakestuff.com/makingtime
Want to support ILTMS? Get exclusive content and more...
http://www.iliketomakestuff.com/patreon
BUY A SHIRT, STICKER, NOTEBOOK, DIGITAL PLANS and MORE!!
http://www.iliketomakestuff.com/store
FOLLOW:
http://twitter.com/iliketomakestuf
http://www.twitch.tv/iliketomakestuff
http://instagram.com/iliketomakestuff
http://facebook.com/iltms
MUSIC: http://share.epidemicsound.com/iltms
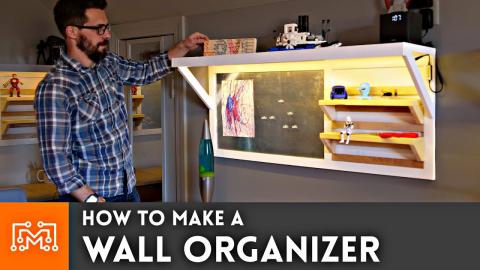
I don't know about you, but I have a lot of sandpaper and it doesn't have a good home. I have sheets of sandpaper in drawers, discs in a box, and sponges falling off shelves. It's about time I get all of those pieces together in one sandpaper organizer.
Because this storage unit would be relatively small and have many points of internal connection, we decided to use 1/4" MDF. We wanted to keep this project as small as we could so that it could fit on small project panels you could get at your local home center. It ended up being a little bit bigger than a 2'x4' sheet. I followed the cut list and had all of the think pieces ready to go.
The organizer would have an open box on the top for sanding discs, two taller columns on either side for sanding sponges, and a set of shallow shelves for sand paper sheets. To connect everything together, I decided to cut dados in the thin material and use wood glue with little dabs of CA glue to quickly hold the elements together while the wood glue dried. Once I had all the pieces in place, I let the wood glue dry for a few hours.
In the top section meant for sanding discs, I wanted to add some simple dividers made from the same 1/4" MDF material. I cut a divider for each grit of sanding discs that I had, 6 in total. To better identify each grit of sandpaper in the box, I used my Glowforge laser engraver to etch the different grits onto the dividers. This is completely optional of course, you could simple write the numbers with a marker.
At this point, you have a simple and functional sandpaper organizer. But there was one function that I thought would be kinda cool. I have a lot of sheet of high-grit sandpaper, and I never need the entire sheet. Josh modeled up a quick and easy holder for a circular fabric blade that would run on two aluminum poles. This device would act just like a traditional craft paper cutter, but mounted to the front of the sandpaper organizer. I placed a piece of left-over cutting mat under the cutter assemble, and now I can cut bigger sheets that are stored on the shelves, into smaller pieces as I need them.
I hope this project helped you wrangle all of your loose sandpaper into one place. This was a much-need3d solution to a messy problem that we had. I hope that you check out the digital plans we have available for this project up above, and make it a fixture in your own shop!