How to Make Multi-Colored Custom Crayons

Description
Come see what we made using some old, broken crayons! For $50 off select Casper mattresses, go to http://www.casper.com/iltms and use promo code: iltms *terms & conditions apply.
Subscribe to my channel: http://bit.ly/1k8msFr
Second Channel: http://bit.ly/iltms-2
MORE PROJECTS, POSTS AND EVENTS
http://www.iliketomakestuff.com
STUFF WE USED IN THIS PROJECT (affiliate links):
https://kit.com/iliketomakestuff/custom-crayons
https://kit.com/iliketomakestuff/digital-fabrication-tools-3d-printing-laser-cnc
https://kit.com/iliketomakestuff/shop-safety-gear
TWITCH STREAM Every Wednesday @ 3pm EST: www.twitch.tv/iliketomakestuff
I WROTE A BOOK!!
http://www.iliketomakestuff.com/makingtime
Want to support ILTMS? Get exclusive content and more...
http://www.iliketomakestuff.com/patreon
BUY A SHIRT, STICKER, NOTEBOOK, DIGITAL PLANS and MORE!!
http://www.iliketomakestuff.com/store
FOLLOW:
http://twitter.com/iliketomakestuf
http://www.twitch.tv/iliketomakestuff
http://instagram.com/iliketomakestuff
http://facebook.com/iltms
MUSIC: http://share.epidemicsound.com/iltms
Not many people know that I worked as a candle maker back in college. I've always wanted to make a project around melting wax. and like many parents, we have a bucket of broken crayons. I wanted to use 3d printing and mold making to create a multi-colored custom crayon.
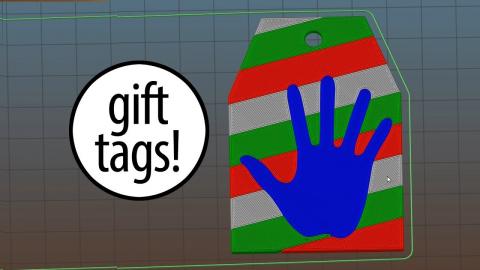
I knew early on that I wanted to combine several wax colors to make a fun design. Looking through some cool 8-bit options, I landed on the 1-Up mushroom from Mario. The design was simple enough to replicate but complex that I had to think through the order of operations. To get a liquid wax to conform to a know shape, we're going to have to make a mold, a few actually. I began by creating a mold that broke the 8-bit segments into similar colors. Using Fusion 360, I sketched over a picture of the mushroom and extruded it upward to give a 3d-printable mold for each squared section.
After the prints were finished, I could group the little pieces by their intended color and place them in a plastic container. Because the 3d-printed pieces wouldn't allow me to pop the solid wax out easily, I decided to use a temperature-resistant silicon to make a flexible mold. I mixed the two parts together and carefully poured it over the 3d-printed pieces creating a perfect malleable mold.
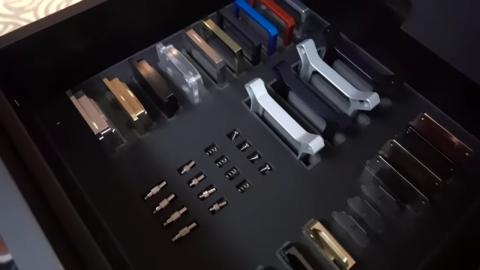
We had plenty of broken and worn down crayons in our art supply organizer. So I grabbed a handful of colors similar to the mushroom's white-green-black color pallet. It doesn't take intense heat to melt the waxy crayons, so I switched from a propane torch to a simple heat gun to melt the crayons in a metal tin. Once the wax was fully liquified, I poured the colors in their respective molds and waited for them to harden.
Using a silicon mold is great because nothing sticks to silicon but silicon so the waxy-crayon pieces released quite easily. Because of the nature of the design, some of the colorful pieces are very thin, so removing them from the mold in one piece was problematic. The black outline broke several times, which lead to a change in my methods. I again used the silicon mold for the white and green sections, but I modified the original 3d printed housing so that I could place the successful pieces inside it and pour molten black crayon over top. This way, the black would fill all the empty spaces and bind the whole piece together.
To clean up the mushroom's face and to get rid of the color bleed-over, I used a razor blade as a scraper. I made a few light scrapes across the front and it really did the trick. I was left with a really good looking Mario Brother 1-Up mushroom made out of repurposed crayons.
This project was silly, overcomplicated, unnecessary, and impractical...but it was also a lesson on problem solving. I set out to do a simple sounding task, make a video game character out of old crayons; and I did. Starting from a blank slate and using the skills you've acquired over time to do something you've never done can be really fun. I had to change plans along the way, give up on ideas I thought would work initially, quickly correct problems, and I ultimately met my goal.
If you ever feel like you are in a rut creatively or just need a change of pace in your workshop, make something unnecessary. Because chances are, you have your tools arranged for your most comfortable skill or you have a process flow that you've perfected to accomplish certain tasks. Try making something silly and uncharacteristic once and a while, it can be really satisfying accomplishing something that you never thought you could using methods you never thought would go together.