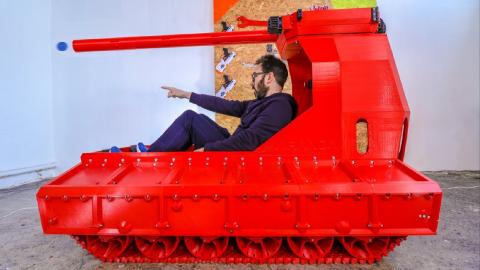
I MADE A 3D PRINTED TANK THAT DRIVES WITH PEDALS (from scratch)

Description
Start your free trial to Altium Designer for 15 days: https://www.altium.com/yt/ivanmiranda
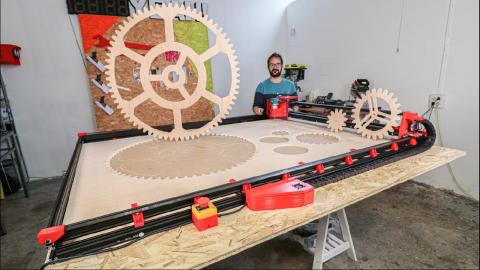
If you want to know more about the 3D printer in the video check:
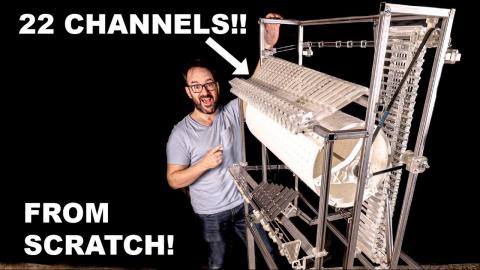
https://ivanmiranda.com/products/big-3d-printer-mkiv-files
https://youtu.be/KhBdMpEGH0o
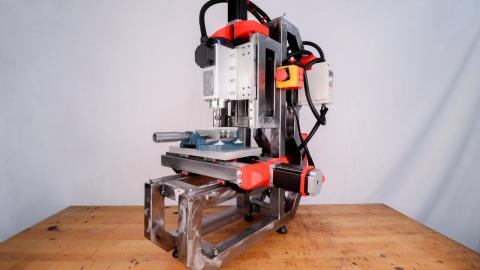
If you want to know more about the CNC used in the video check:
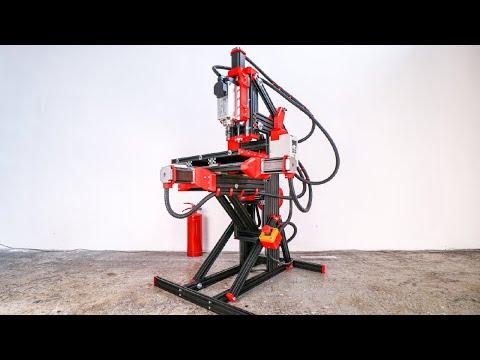
https://ivanmiranda.com/products/tiny-3d-printed-cnc
https://youtu.be/dkvED8p8bt0
If you want to watch all the 3D printed tank saga here's the playlist:
https://youtube.com/playlist?list=PLiqrEMrfoE8ph8BZS2d72R-MJUhN61ut3
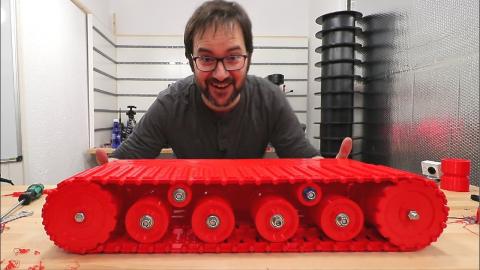
I finally got back to the big tank project! This was more fun than I even remembered.
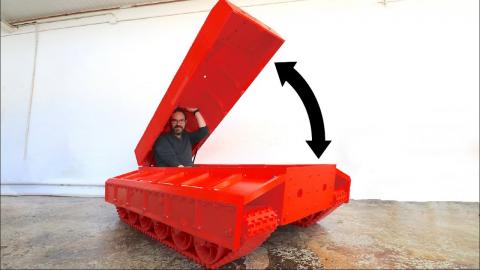
Many of you may remember that the tank had a clamshell style cover, and it seemed like a good idea to me at the time but it had two 30 Kg gas cylinders to help with the lifting and those pushed the lid forward constantly when the lid was closed. That shifted the cover forward and bent the back of the frame, a couple of the hinges also broke. That paired with the fact that it was going to be impossible to fit a turret on top (too heavy) and that it was incredibly disorienting (and uncomfortable) to ride the tank on my back made me discard the idea and start over.
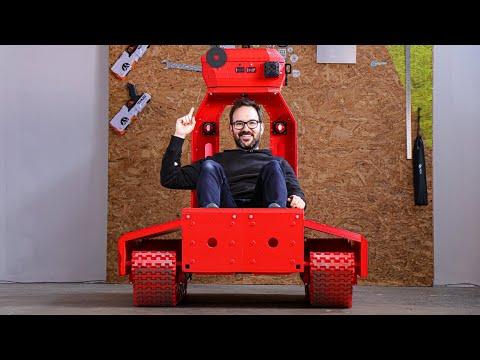
The new seat is surprisingly comfortable (I've never designed a seat before) and it allows for the next modification to the driving of the tank, PEDALS!. Before getting to the pedals idea I revolved a lot around a complex driving wheel with buttons and levers but in the end, my feet where free and is super intuitive to control. In the video you may see that I put a couple of encoders on the pedals but those had pretty poor resolution and I had only 12 encoder counts for the entire travel of each speed so I ended up temporarily connecting linear potentiometers to the Arduino as an almost drop in replacement. I'll need to swap those for something more robust and most probably will add two on each pedal as a safety as this thing going hay wire doesn't sound safe. I also added a couple of 200 amp switches on the panel behind the seat that will in the future cut power to the batteries.
And as an inevitable modification I removed the three chain reduction gear that I previously mounted as it was extremely unreliable and kept broke, I broke chains, shafts, bolts.. everything in it was failing all the time. Since I made that video I've learned a lot and HTD 5M belts seem to be the most reliable and easy to design for solution so I went with that.
The turret and the cannon will be sitting in the flat spot on top where I've already left mounting holes.
As always I'm super thankful for your support and eager to read your comments. Thanks!!!
CHAPTERS:
00:00 Intro
00:16 Disassembly
00:43 New rear
01:37 Traction sprockets
02:43 Motor assembly
04:16 Seat
04:56 Altium Designer
07:22 Pedals
10:04 Shell
10:43 Testing
Join this channel to get access to perks:
https://www.youtube.com/channel/UCF3cDM_hQMtIEJvEW1BZugg/join
If you want to support this channel you can do it here:
Patreon: https://www.patreon.com/ivanmiranda
Merchandise: http://ivanmiranda.space/store
PayPal: https://www.paypal.me/IvanMirandacom
For regular updates on my projects follow me on:
Instagram: https://ivanmiranda.space/instagram
Twitter: https://ivanmiranda.space/twitter
Facebook: https://ivanmiranda.space/facebook