Nintendo Switch Game Storage Controller // How-to

Description
I made a Nintendo Switch game holder with 3d printed Joy-Con rails!
Subscribe to my channel: http://bit.ly/1k8msFr
Join Honey today for FREE at https://www.joinhoney.com/iltms
Second Channel: http://bit.ly/iltms-2
MORE PROJECTS, POSTS AND EVENTS
http://www.iliketomakestuff.com
TOOLS & SUPPLIES:
https://kit.com/iliketomakestuff/digital-fabrication-tools-3d-printing-laser-cnc
https://kit.com/iliketomakestuff/shop-safety-gear
Twitch Stream Every Wednesday @ 11am EST: www.twitch.tv/iliketomakestuff
I WROTE A BOOK!!
http://www.iliketomakestuff.com/makingtime
Want to support ILTMS? Get exclusive content and more...
http://www.iliketomakestuff.com/patreon
BUY A SHIRT, STICKER, DIGITAL PLANS and MORE!!
http://www.iliketomakestuff.com/store
FOLLOW:
http://twitter.com/iliketomakestuf
http://www.twitch.tv/iliketomakestuff
http://instagram.com/iliketomakestuff
http://facebook.com/iltms
We got our kids a Nintendo Switch for Christmas this past year and we really love it. Wanting to practice 3d modeling more, I designed a set of rails to hold the Joy-Con controllers so they can be attached to anything.
If you aren't familiar with the Switch, it's a game system that has two removable controllers that attach to the game's portable screen. When the screen is docked, the controllers come off and you hold them in separate hands. I know you can buy aftermarket products that hold the Joy-Cons making it look like a traditional, unified game controller, but newsflash...I like to make my own stuff.
I liked the idea of designing and 3d printing just the attachment rails that the Joy-Cons would slide into; that way, someone could attach them to anything, allowing people to make their own truly unique game controller. We went back and forth on what the center item would be; a Lego build plate, a beautiful piece of figured wood, or maybe a bucket of popcorn, all you need are flat sides.
After looking at the Switch, I found that I didn't like the unnecessarily oversized boxes that the SD card-sized games came in. I thought it was a huge waste and decided that the center item should be a holder for our games. Since I was already using digital modeling and 3d printing for the rails, I decided to make this Nintendo-centric project all about digital fabrication. I designed a simple box that would open at the top to receive a sliding plate that would hold the games. I used my Glowforge to laser cut the pieces and assembled the shallow wooden box with CA glue (of course I added my logo for good measure). The sliding plate matched the inner dimensions of the box, but I left room for some thin sheets of foam. I again used the Glowforge to cut spaces in the foam that would securely hold the game cards. I used spray adhesive to attach this layer to the sliding card. To add a little more friction to the slide, I glue an extra piece of foam inside the box as well. I CA glued a thin strip of teak to the top of the slide to act as a pull tab, which also worked as a cap for the box. I applied a few coats of spray lacquer and it was ready for assembly.
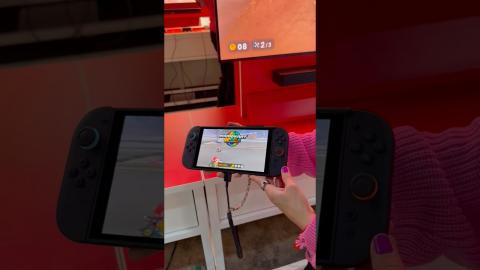
With the game holder all finished, I set the 3d printed rails in place and marked the screw holes. I pre-drilled the holes and attached the rails using small brass screws that I had to grind down to length. With everything in place, it was ready for the Joy-Cons. I slid the controllers in place and loaded up the game holder. Everything held tight and felt comfortable in my hands, it was really satisfying.
This project used primarily digital design and fabrication products, which I know not everyone has access to. BUT, they were incredibly valuable for a project like this. I had to change elements of my design many times, (the final product was version 6!) and using 3d printing allowed me to make quick design changes using inexpensive material. The final product was a perfect fit and this project was completed in about a day. If you are interested in digital fabrication, you can seek out local Maker Spaces, use online 3d printing services, or you can get entry-level 3d printers for around $200 and they make great prints. If you want to see more rapid prototyping and digital fabrication, you can check out my other 3d printing, laser cutting, and CNC milling videos to see what's it all about!