How to Make a DIY Weight Rack // Home Gym

Description
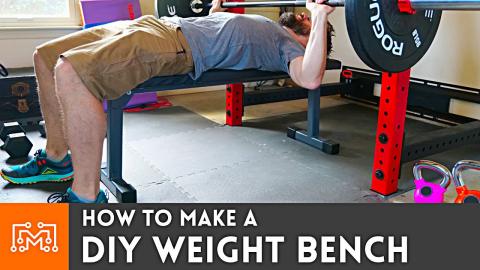
To finish off our new home gym, I made a DIY weight rack to accommodate our collection of plates and barbells. Using some basic materials and welding skills, I made a rack that is durable and can adjust to our growing needs.
Subscribe to my channel: http://bit.ly/1k8msFr
Second Channel: http://bit.ly/iltms-2
MORE PROJECTS, POSTS AND EVENTS
http://www.iliketomakestuff.com
TOOLS & SUPPLIES WE USED(affiliate links):
https://kit.co/iliketomakestuff/my-metalworking-tools
https://kit.co/iliketomakestuff/shop-safety-gear
WANT TO LEARN FUSION 360?
We made an online course called "Fusion 360 for Makers"
https://ilt.ms/fusion
I WROTE A BOOK!!
http://www.iliketomakestuff.com/makingtime
Want to support ILTMS? Get exclusive content and more...
http://www.iliketomakestuff.com/patreon
BUY A SHIRT, STICKER, NOTEBOOK, DIGITAL PLANS and MORE!!
http://www.iliketomakestuff.com/store
FOLLOW:
http://twitter.com/iliketomakestuf
http://www.twitch.tv/iliketomakestuff
http://instagram.com/iliketomakestuff
http://facebook.com/iltms
MUSIC: http://share.epidemicsound.com/iltms
Theoretically, this weight rack will be holding a few hundred pounds of plates and I imagine we won't be setting them down easily. While you could make this rack out of wood, I decided to use some 1 inch steel square tubing that I had in my scrap bin. The concept would be a rectangular bottom frame that would hold the plates vertically like a dish rack. I had to determine the frame's dimensions so that the circular plates would sit on the squared frame without touching the floor or falling over. Josh went into Fusion 360 and messed around with a circle the same diameter as our weights sitting atop two squares and determined the best rectangle size.
With these dimensions, I used my metal-cutting bandsaw to add 45 degree miters on the four frame pieces and welded them together. Again, I used the Magswitch adjustable welding clamps to ensure I had a perfectly square fixture. After some grinding I was ready to add the next element, barbell storage.
Our home gym has 2 weight-lifting barbells, one for men and one for women. The two barbells are slightly different sizes, but the ends (where the weights are placed) are the same diameter and length. At my wife's gym, they store their barbells vertically in a round holder, so I will emulate this design using some 2-inch steel pipe. The pipe was pretty old and gross looking, but metal is cool because you can simply use a grinder and remove all of that filth to reveal the shiny metal underneath. I could then weld the clean pipe to the inside corners of one wide of the rack.
Because these pipes are straight cylinders with no bottoms, I welded on a simple flat bar to the bottom. This extra tab prevents the barbells from contacting the concrete floor when stored. After everything is finished, I'll even add a puck of EVA foam to the bottom to soften the metal-on-metal contact. Speaking of contact, I wanted to reduce the amount of scraping when the barbells touch the pipe's opening lip. Using Fusion 360, I designed a simple 3d printed collar and attached to the top lip of the pipe. Now the barbell touches the plastic collar instead of the metal pipe, hopefully reducing wear and tear.
Since I decided on the dish rack design, the weight plates had to have a way to sit vertically without falling over. In a dish rack, there are small dividers with even spacing fixed to the bottom. I decided against this option because the plates we use have a consistent diameter, but not a consistent thickness. The heavier the plates, the wider they are. And we aren't done acquiring plates yet, so I didn't want to permanently fix specific dividers.
I decided that the bottom frame's interior space was the perfect place to employ some simple triangular stands with wide, non-tipping, feet. These stands will act like a stable kickstand but held down using the plates' weight. Two horizontal legs were placed against the inside frame and a welded chevron was attached to them. This triangular stand was tall enough to support the plates' height, while the plate itself sat on top of the legs. I could move the dividers around as needed and they are easy enough to replicate when we get more plates. Once everything was welded and working, I gave them metal pieces a few coats of enamel paint.
I know that the home gym projects have been pretty welding-heavy. There isn't much to this weight rack other than figuring out the right dimensions early on and deciding on the best divider method, which I'm sure there are other options. While welding my be just over the horizon for some people, I want to encourage you to take that step and try it. Fixing metal together is awesome and can open up the possibilities to making really durable projects. Ask a family member, check out a Maker Space near you, or look up used tools online.