Making Simple Steel Storage while Learning to Weld

Description
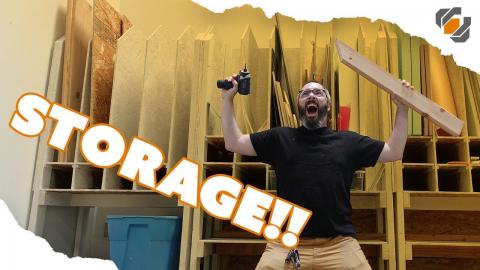
My metal storage was a disaster, so I made a simple steel storage rack while Josh was learning to weld. The entire storage rack was made from existing scrap metal that now holds scrap metal. Come see his skills grow from shaky YouTube research to pretty decent welds!
Subscribe to my channel: http://bit.ly/1k8msFr
Second Channel: http://bit.ly/iltms-2
MORE PROJECTS, POSTS AND EVENTS
http://www.iliketomakestuff.com
TOOLS & SUPPLIES WE USED(affiliate links):
https://kit.co/iliketomakestuff/my-metalworking-tools
https://kit.co/iliketomakestuff/shop-safety-gear
I WROTE A BOOK!!
http://www.iliketomakestuff.com/makingtime
Want to support ILTMS? Get exclusive content and more...
http://www.iliketomakestuff.com/patreon
BUY A SHIRT, STICKER, NOTEBOOK, DIGITAL PLANS and MORE!!
http://www.iliketomakestuff.com/store
FOLLOW:
http://twitter.com/iliketomakestuf
http://www.twitch.tv/iliketomakestuff
http://instagram.com/iliketomakestuff
http://facebook.com/iltms
MUSIC: http://share.epidemicsound.com/iltms
As you may have seen in the latest Between the Builds video, we have been rearranging the entire shop to make room for the new mill and metal lathe. After moving, I found that I had tons of scrap metal tubes, bar stock and angled pieces. I needed to make a steel rack to store this scrap similar to the organization bins at Lowe's or Home Depot. I drew up a design that involved three vertical bins partitioned off into nine square holding areas. These three bins would step down in size from tallest to shortest in the front. Because I have a lot of pieces of varying size, I didn't want the small chunks to fall to the bottom of a big tub.
I cut down some 1" square tubing that I had in the appropriate lengths to create the rack's skeleton. The floors of each bin were made from some left-over expanded steel sheeting that I cut with a cutoff wheel on my angle grinder. With the design ready and all of the materials cut, it was time to start welding. This time, I wasn't going to do the welding. Josh has always wanted to weld a project, and now it was time for me to share all of my knowledge with him so he could practice.
Before Josh and I begin welding this steel rack together, we went over basic welding fundamentals. Most importantly, we discussed safety gear like welding jackets, gloves, and helmets. We talked about the setting for correct shading based on what you are working with and the difference between a cheap helmet that you can't really see out of, and a quality helmet that can really improve your work. I mentioned having cotton clothing, closed-toe shoes, and proper ventilation.
Next we went over some welder basics like proper work grounding, wire feed rates, voltage settings, gas shielding, and replacing consumable tips. Josh, like most beginner welders, has a basic understanding of welding from consuming content on YouTube. He has had a brief hands-on trial of a TIG welder at an event, but has never MIG welded, which is what we are doing in this project. For more in depth understanding of how to set up your welder check out professional welders like Welding Tips and Tricks.
Josh practiced getting a consistent welding bead on a scrap piece of square tubing before we set out to weld up the entire steel rack. I explained that he needed to first tack weld the butt joints together on each side to prevent the piece from warping from the heat of a full bead. He tacked each side of the square tubes and began running full welds on each tubular element. I was there to coach him on his feed rate and technique. It was a completely new experience for me watching someone else weld. I was able to see how his movements affected his welds and I was able to see some of his mistakes that I wouldn't normally catch from my own welding experiences.
Josh was doing a great job, burning through the material every once in a while, but he finally got the hang of the welder and quickly produced some really nice welds. He mentioned that his "knowledge" of welding by watching people on YouTube was helpful academically, but it did nothing once he got the welder in his hand. Josh said that his underlying understanding of how welding works was incorrect and that 3d-printing-like understanding he had, created a hurtle to learning. Once he understood that welding, in its most basic hands-on form, was moving a molten puddle along a metal joint, his welds turned out much better and far more consistent.
Now that each element of the new steel rack was welded together it was basically finished. I never intended on this functional shop fixture to win any beauty contests, it was meant as a first welding project made from scraps. While Josh did a great job welding, the welds were a bit ugly and mounded up. He wanted to see the whole process through to finish grinding despite the utilitarian nature of this rack.
Read more at: https://iliketomakestuff.com/?p=41190&preview=true